Using the SSH Client (Windows GUI)
To use the GUI application installed on the development servers, such as ANSYS and MATLAB, X Server software is required. This section explains how to set up the Linux virtual machine on Windows, and use the X Server version that is installed on the virtual machine to use the GUI application.
目次
Setting Up
Set up your machine as follows. As the first step, install the virtualization software called VirtualBox. Next, download the Linux virtual machine disk image, and register it with the VirtualBox. Finally, set up the Linux virtual machine.
Installing VirtualBox
Download the latest setup program from the official VirtualBox website. The latest version is 4.3.20 as of January 19, 2015.
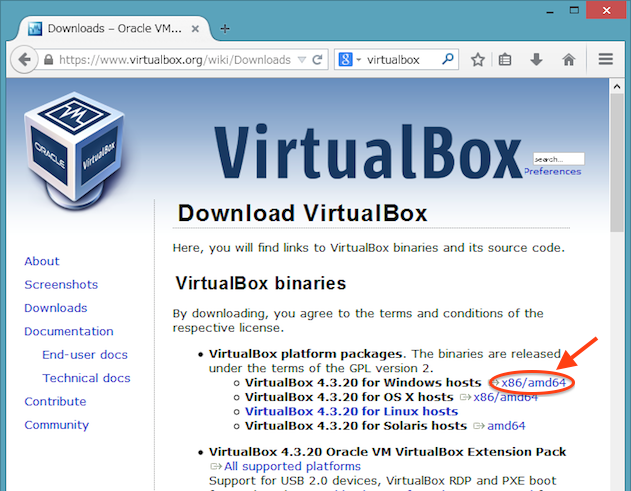
Start the downloaded setup program.

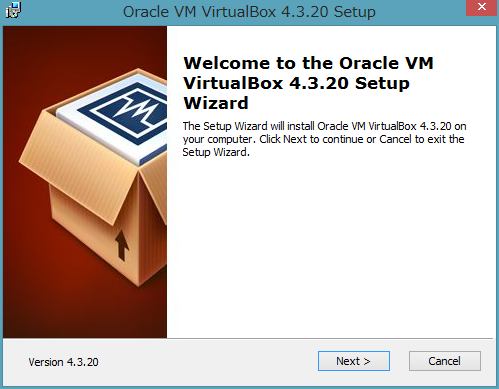
The setup program starts. Click the Next button.
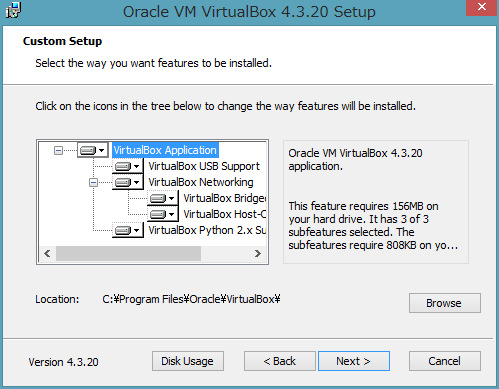
Customize the installation settings as required. Click the Next button.
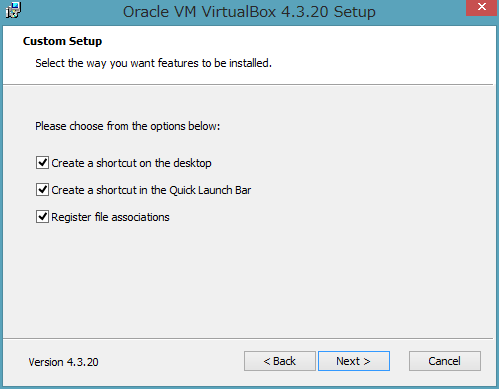
Choose the installation options as required. Click the Next button.
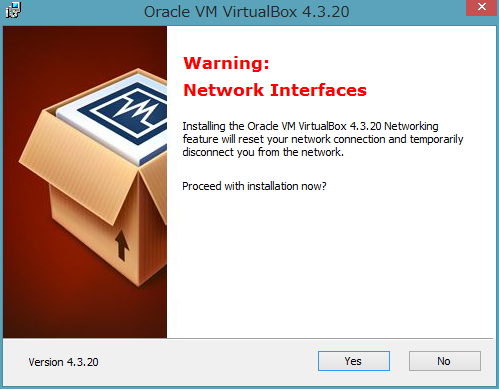
A message warning that the network connection will be interrupted is displayed. Click the Yes button.
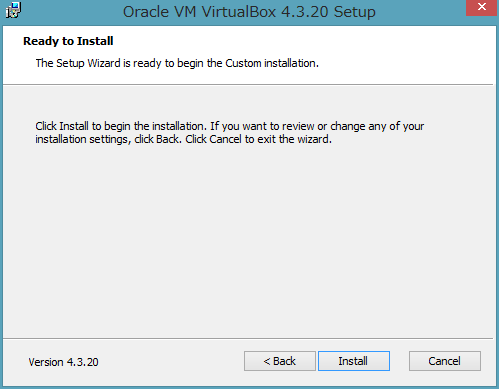
The final confirmation window before installation is displayed. Click the Install button.
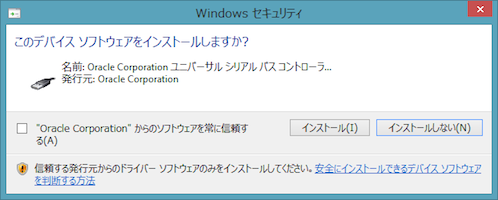
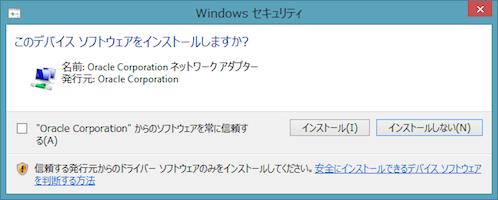
The dialog that confirms installation of the new device software is displayed several times. Click the Install button.
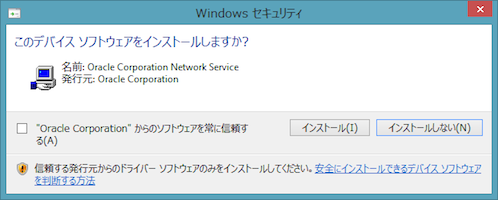
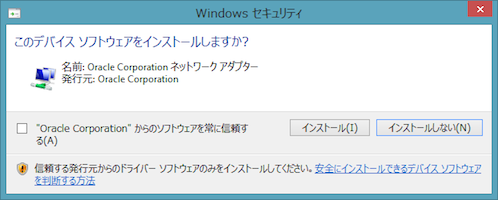
The window to finalize the installation is displayed. Click the Finish button.
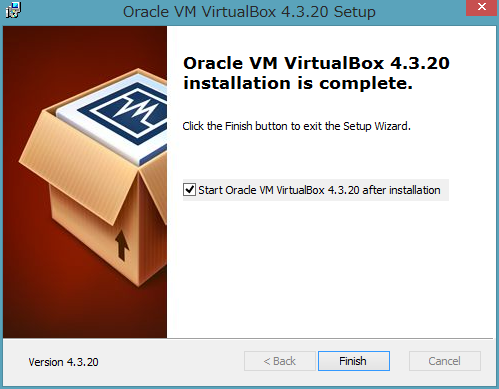
The installation of VirtualBox is now complete.
Installing the Linux Virtual Machine
Download the Ubuntu hard disk image from the official Ubuntu Japanese Team website.
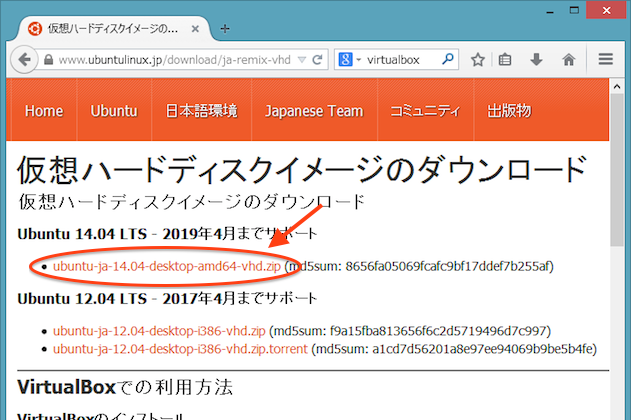
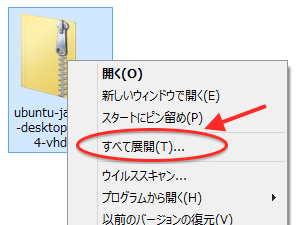
Unzip the downloaded file. A file called ubuntu-ja-14.04-desktop-amd64.vhd is created.
Start VirtualBox.

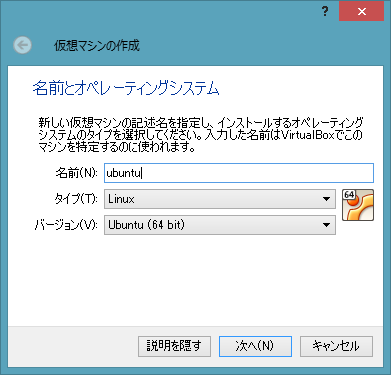
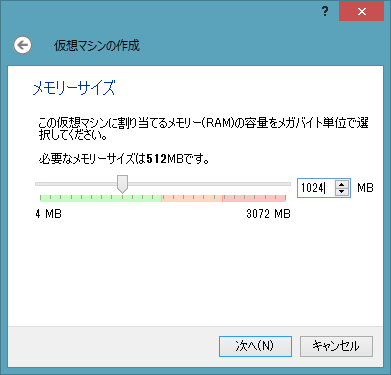
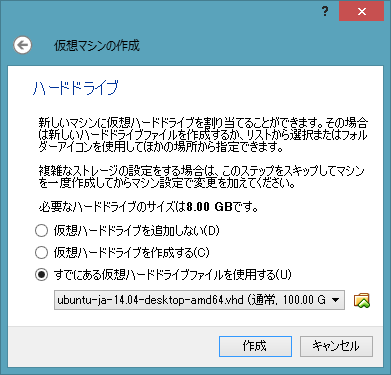
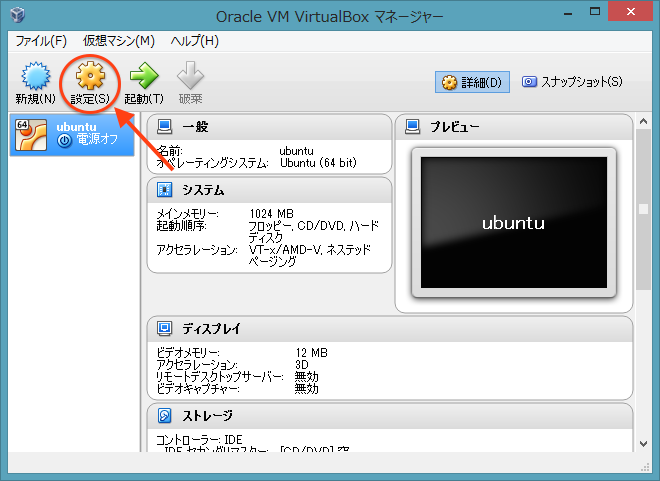
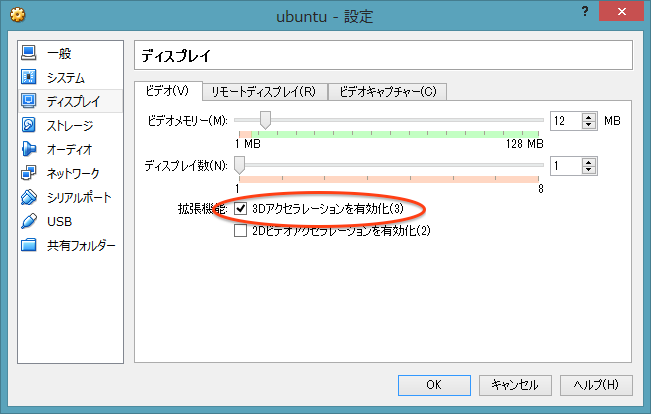
Click New. In the メモリーサイズを 1024 MB に設定します. 「すでにある仮想ハードドライブファイルを使用する」を選択し,先ほどダウンロードしたハードディスクイメージを指定し,「作成」をクリックします. 仮想マシンの配置が完了しました.快適に利用するため,仮想マシンの設定を変更します.「設定」をクリックします. 「ディスプレイ」をクリックし,「3Dアクセラレーションを有効化」にチェックを入れて「OK」をクリックします. 以上で,Linux仮想マシンの設置は完了です.
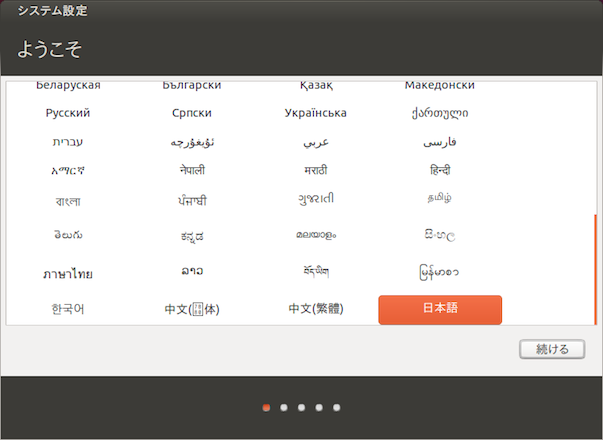
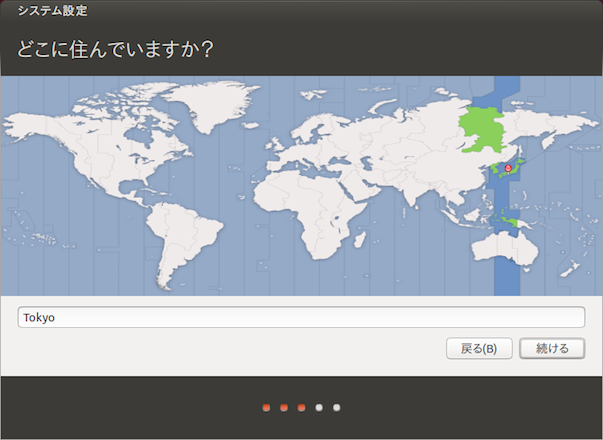
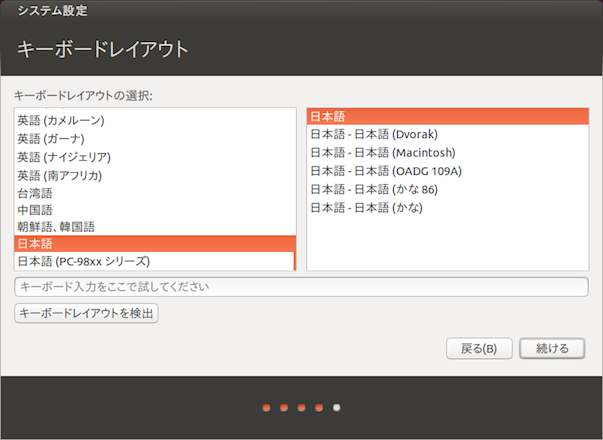
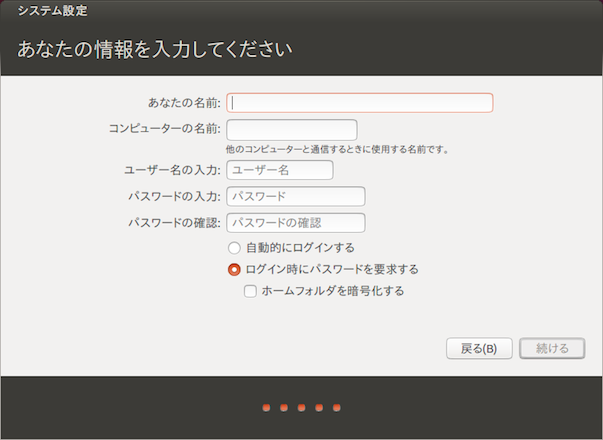
VirtualBoxを起動します. Linux仮想マシンを起動します. 使いたい言語を選択し,「続ける」をクリックします. 住んでいる場所を選択し,「続ける」をクリックします. 使用しているキーボードのレイアウトを選択し,「続ける」をクリックします. 新しく作成するユーザの情報を入力し,「続ける」をクリックします. 以上で,Linux仮想マシンの初期設定は完了です.これでHPCクラスタに接続する準備ができました.
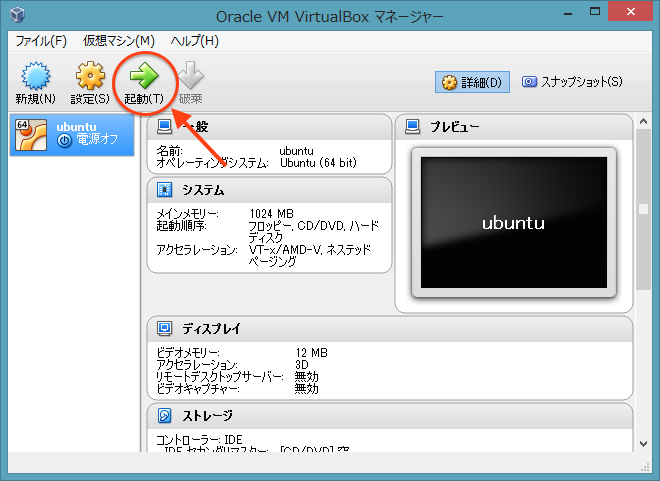
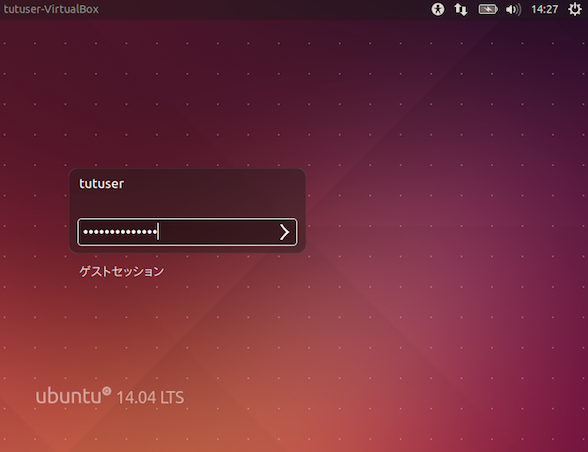
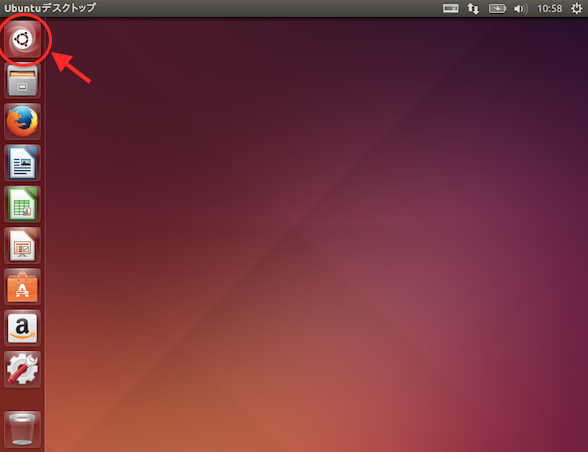
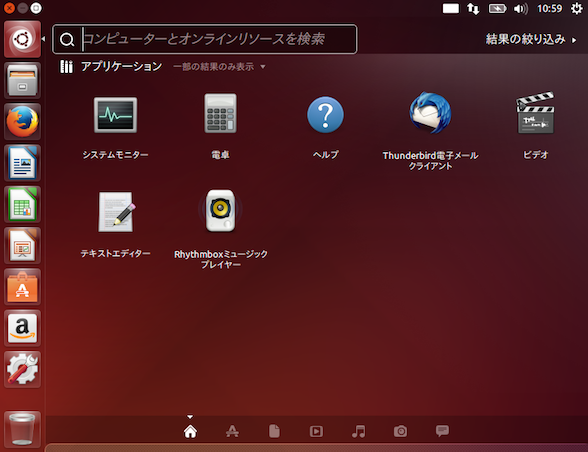
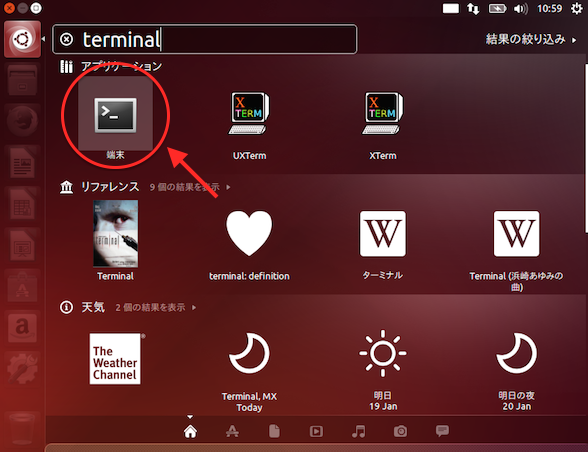
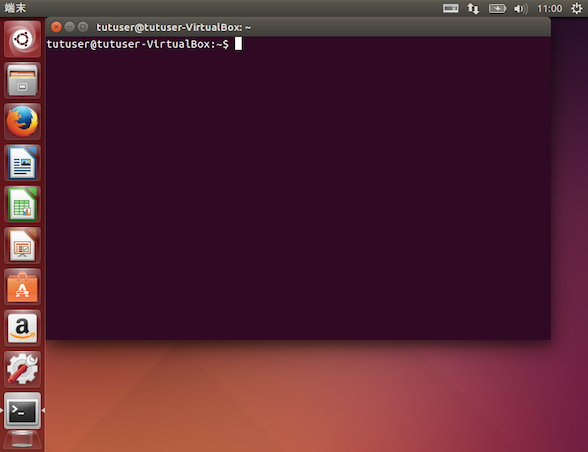
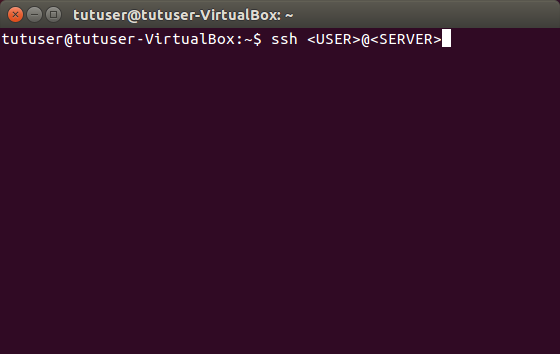
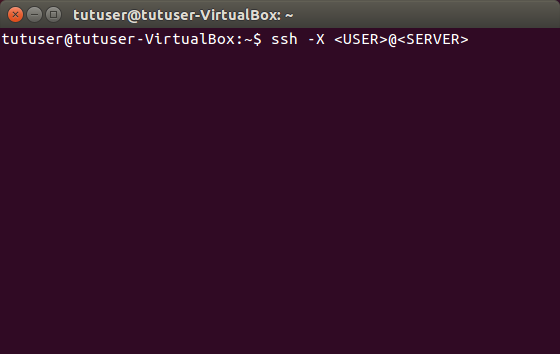
VirtualBoxを起動します. 「起動」をクリックし,Linux仮想マシンを起動します. Linuxが起動します.パスワードを入力し,ログインします. 画面左上のアイコンをクリックします. 「terminal」と入力します. 「端末」と書かれたアイコンをクリックします. 「端末」が起動しました.以降の手順は全てこの中で行います. 端末に「ssh <USER>@<SERVER>」と入力し,エンターキーを押すことでサーバに接続できます. <USER>部分はあなたのユーザ名に,<SERVER>は接続先のサーバ名にそれぞれ読み替えてください. GUIアプリケーションを実行する場合は,「ssh -X <USER>@<SERVER>」と入力してください.
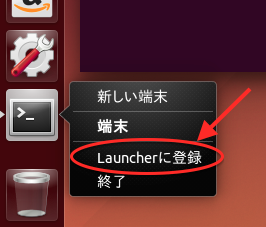
画面左端にある「端末」のアイコンを右クリックし「Launcherに登録」を選ぶと,ショートカットとして登録することができます. 次回からは,画面左端にある「端末」のアイコンをクリックするだけで「端末」が起動できます.
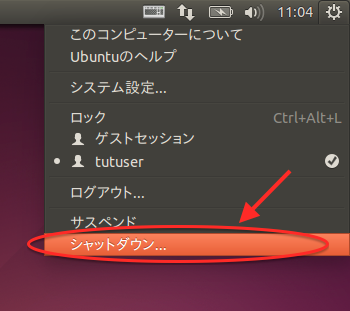
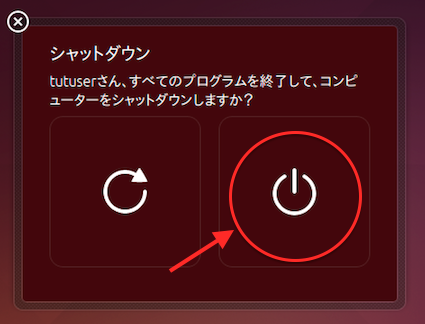
仮想マシンを終了する場合は,画面右上にある歯車のアイコンをクリックし,「シャットダウン」をクリックします. 次に,右側の電源ボタンのマークをクリックします.
Linux & Mac OS Xの場合と同様に作成できます. リンク先の記事を参照してください. 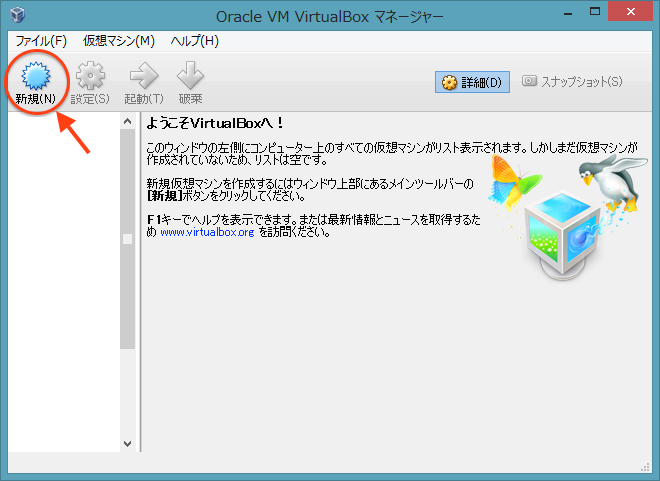
Linux仮想マシンの初期設定

接続方法


補遺
ショートカットの登録
仮想マシンの終了
公開鍵の作成