|
サイズ: 5842
コメント:
|
サイズ: 5846
コメント:
|
| 削除された箇所はこのように表示されます。 | 追加された箇所はこのように表示されます。 |
| 行 71: | 行 71: |
| Start VirtualBox. | Start VirtualBox. |
| 行 103: | 行 103: |
| Start VirtualBox. | Start VirtualBox. |
Using the SSH Client (Windows GUI)
To use the GUI application installed on the development servers, such as ANSYS and MATLAB, X Server software is required. This section explains how to set up the Linux virtual machine on Windows, and use the X Server version that is installed on the virtual machine to use the GUI application.
目次
Setting Up
Set up your machine as follows. As the first step, install the virtualization software called VirtualBox. Next, download the Linux virtual machine disk image, and register it with the VirtualBox. Finally, set up the Linux virtual machine.
Installing VirtualBox
Download the latest setup program from the official VirtualBox website. The latest version is 4.3.20 as of January 19, 2015.
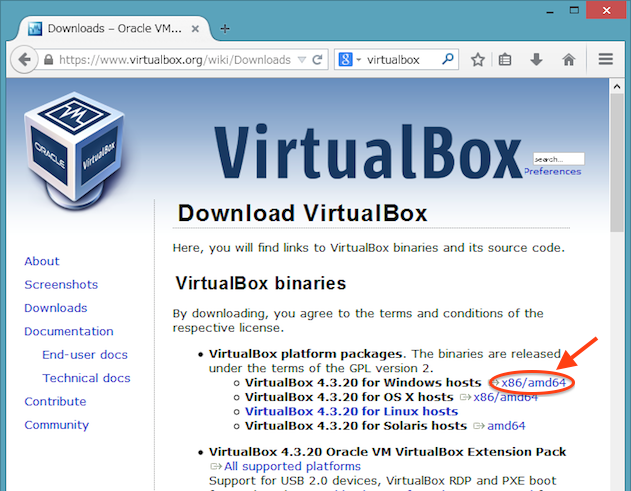
Start the downloaded setup program.

The setup program starts. Click the Next button.
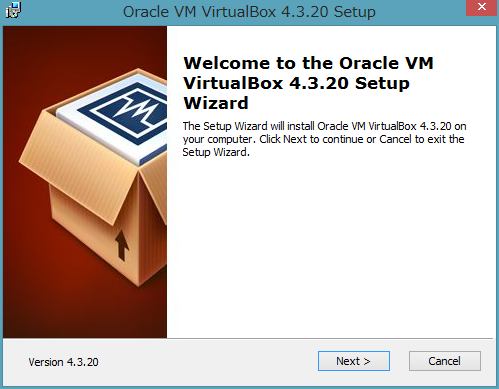
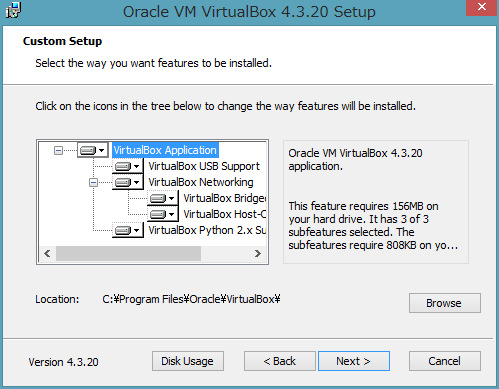
Customize the installation settings as required. Click the Next button.
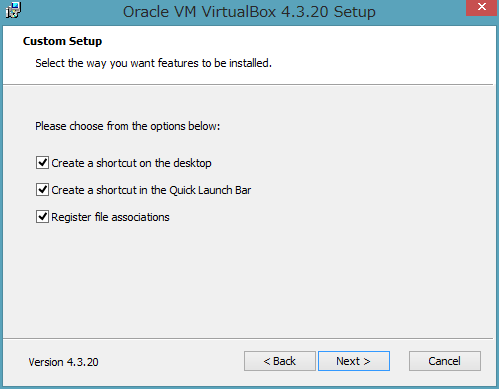
Choose the installation options as required. Click the Next button.
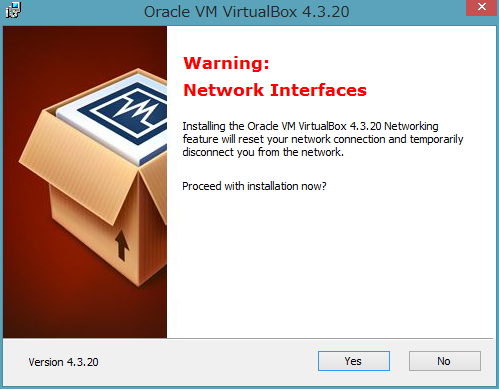
A message warning that the network connection will be interrupted is displayed. Click the Yes button.
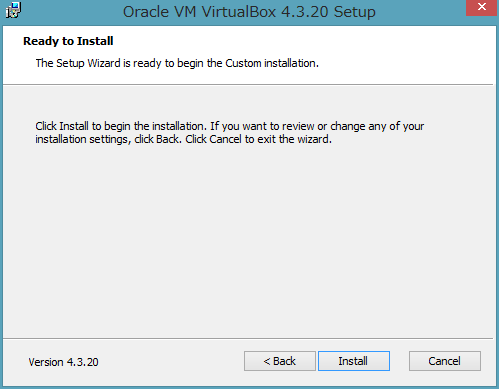
The final confirmation window before installation is displayed. Click the Install button.
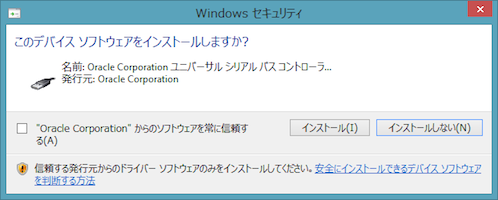
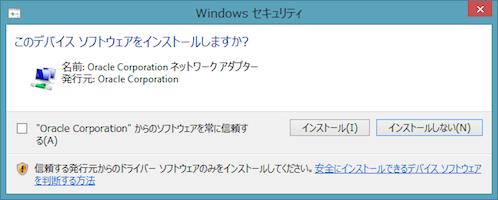
The dialog that confirms installation of the new device software is displayed several times. Click the Install button.
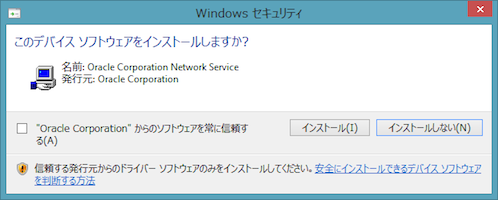
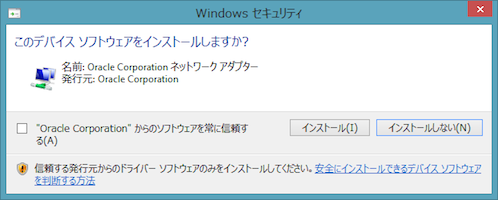
The window to finalize the installation is displayed. Click the Finish button.
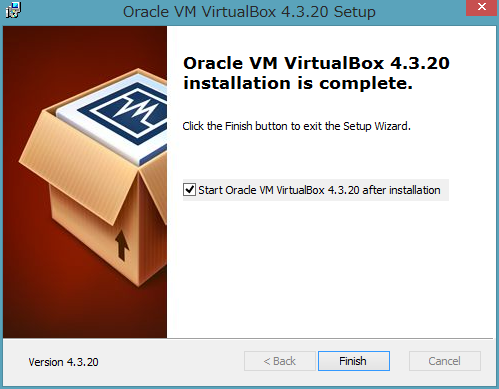
The installation of VirtualBox is now complete.
Installing the Linux Virtual Machine
Download the Ubuntu hard disk image from the official Ubuntu Japanese Team website.
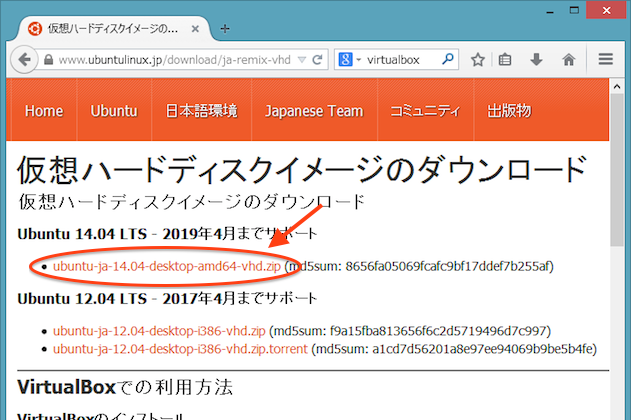
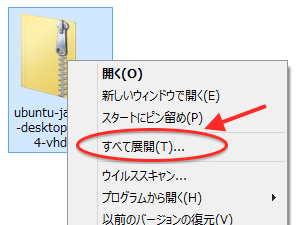
Unzip the downloaded file. A file called ubuntu-ja-14.04-desktop-amd64.vhd is created.
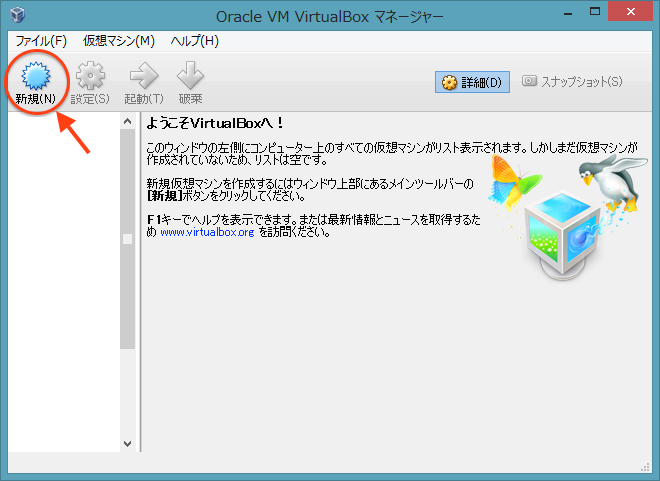
Start VirtualBox.

Click New.
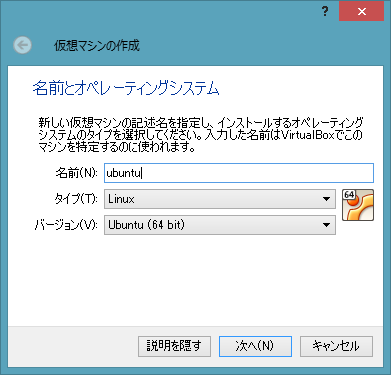
In the Name field, type ubuntu. Check the Type field shows Linux and the Version field shows Ubuntu (64 bit), and click the Next button.
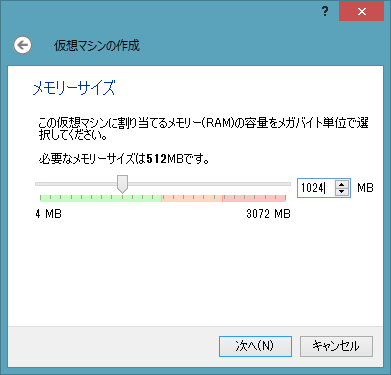
Set the Memory size to 1024 MB.
Select the Use an existing virtual hard drive file radio button and select the downloaded hard disk image in the pulldown menu. Click the Create button.
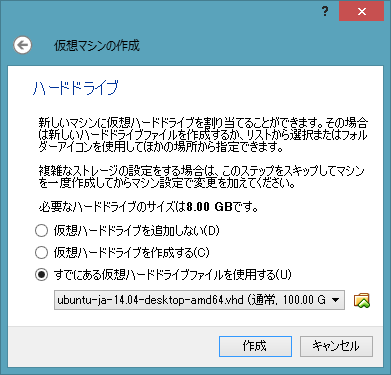
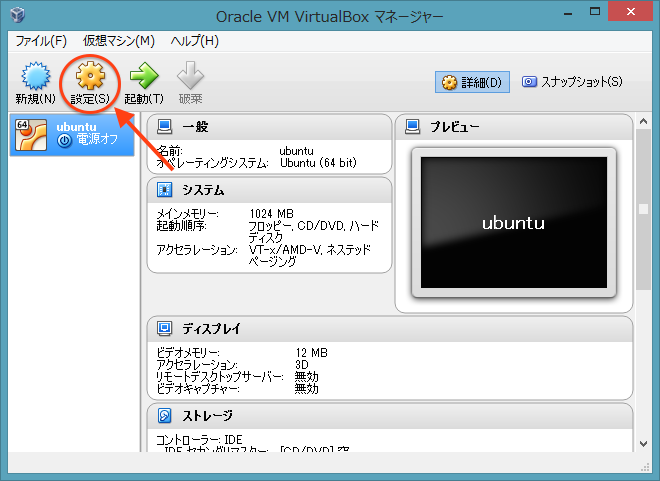
The virtual machine is now set up. To use the machine in the optimum manner, customize the virtual machine settings. Click Settings.
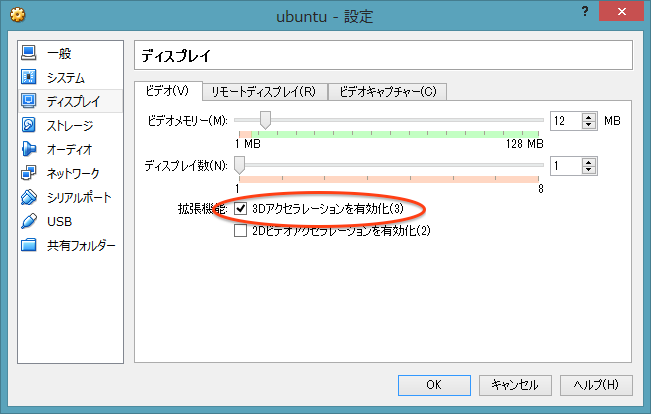
Click Display. In the Video tab, select the Enable 3D Acceleration checkbox. Then click OK.
Now the Linux virtual machine has been installed.
Setting Up the Linux Virtual Machine
Start VirtualBox.

Start the Linux virtual machine.
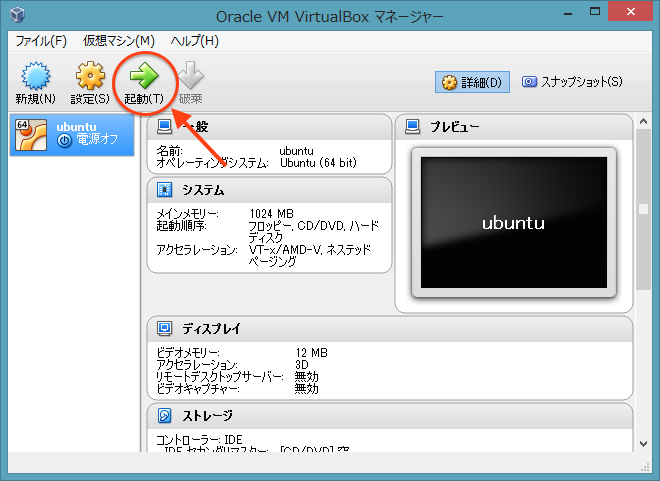
Choose the language to use and click the Continue button.
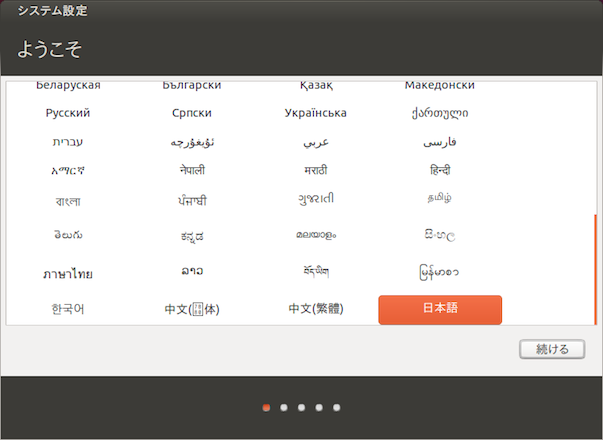
Choose your locale and click the Continue button.
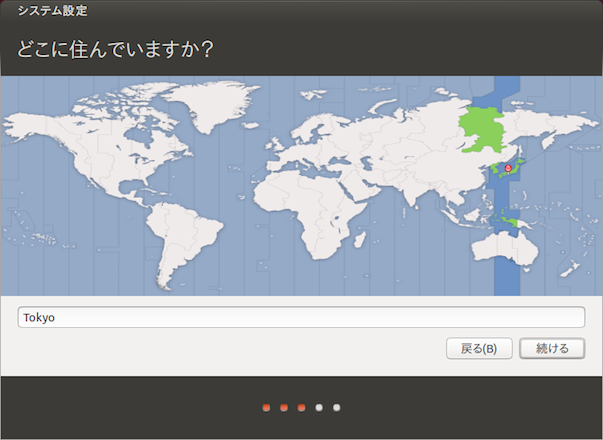
Choose your keyboard layout and click the Continue button.
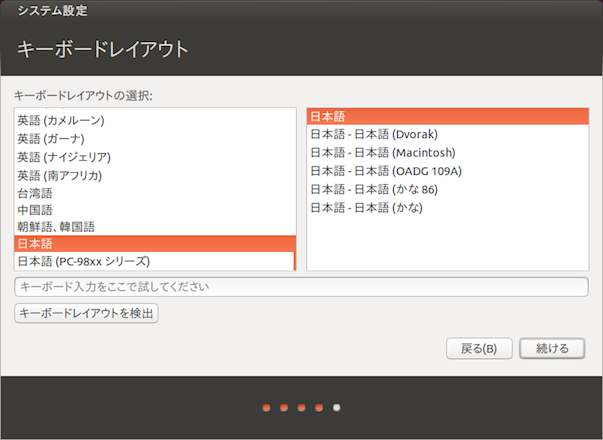
Input the information for the user and click the Continue button.
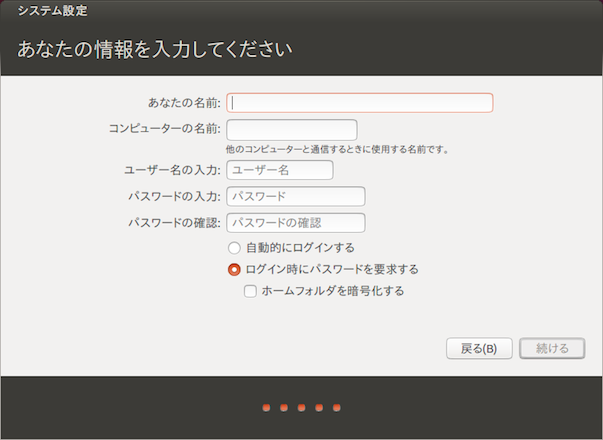
Now the Linux virtual machine has been set up and is ready to connect to the HPC Cluster.
Connecting to the Server
Start VirtualBox.

Click Start to start the Linux virtual machine.

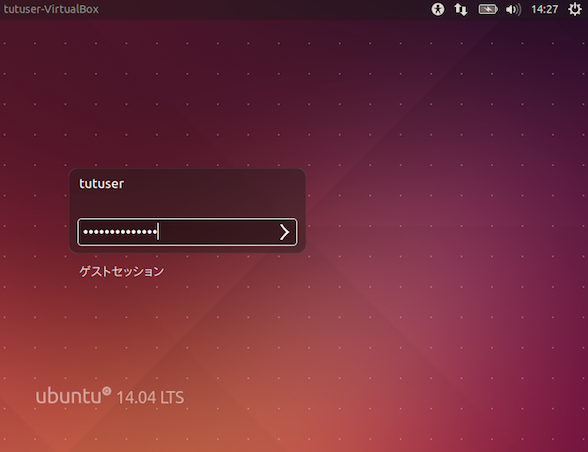
Linux starts. Type your password to log in.
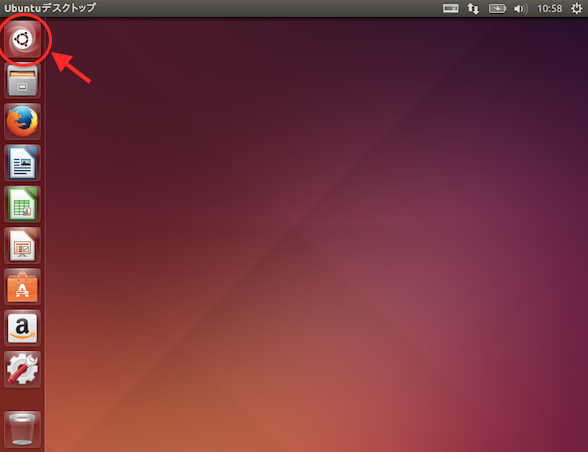
Click the icon shown at the top left of the window.
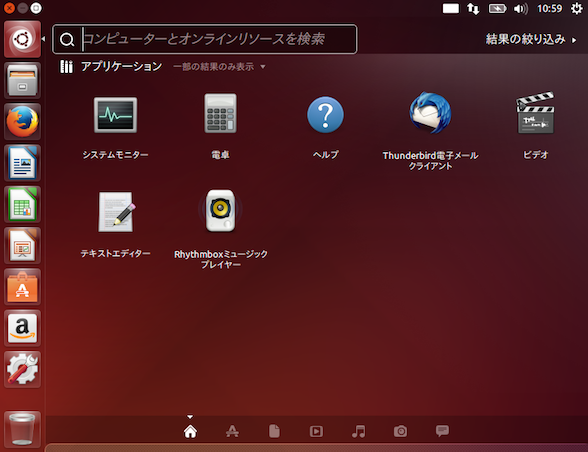
Type terminal.
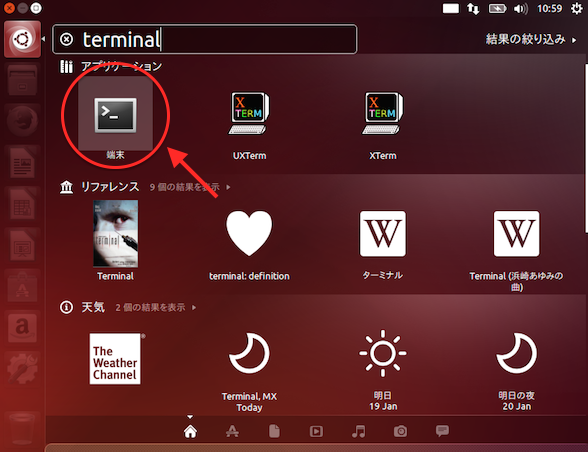
Click the Terminal icon.
The terminal program starts. Perform the following steps in the terminal program.
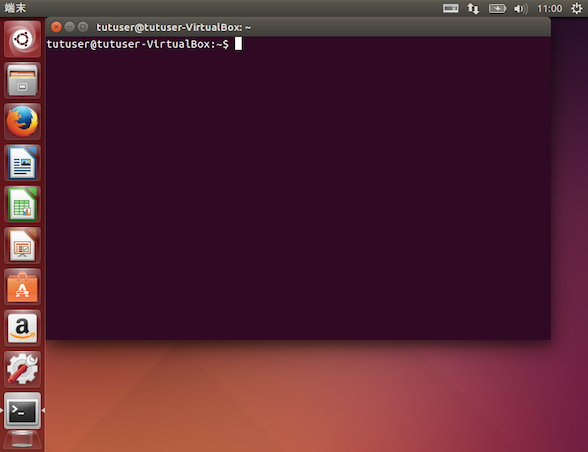
Type ssh <USER>@<SERVER> and press the Enter key to connect to the server. Replace <USER> with your own user name and <SERVER> with the target connection server.
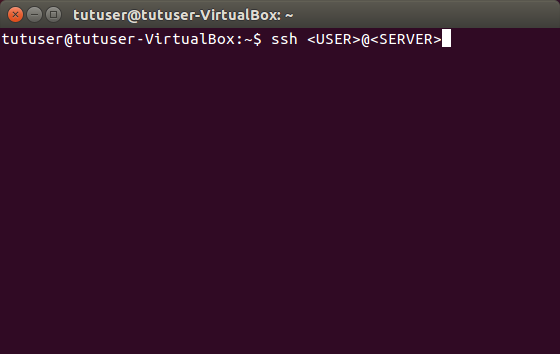
To execute the GUI application, input ssh -X <USER>@<SERVER>.
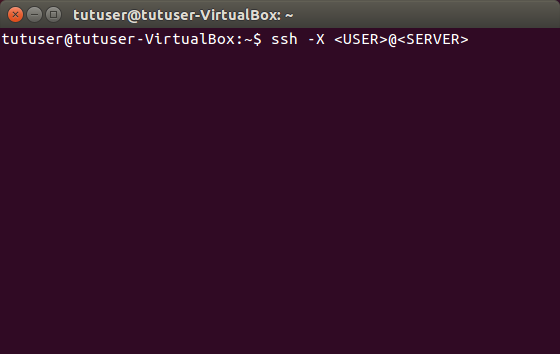
Supplement
Registering Shortcuts
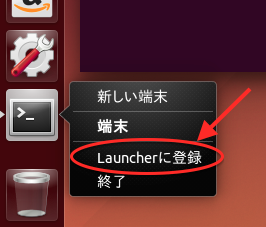
Right-click the Terminal icon at the left of the window and select Keep in Launcher to register the terminal as a shortcut. After this operation, you can launch the terminal just by clicking the Terminal icon at the left of the window.
Closing the Virtual Machine
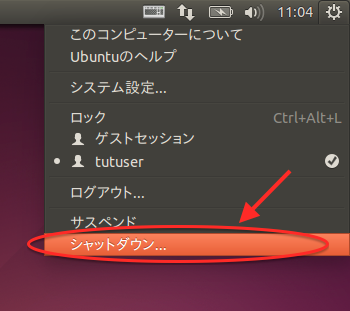
To close the virtual machine, click the cog icon shown at the top right of the window, and select Shut Down.
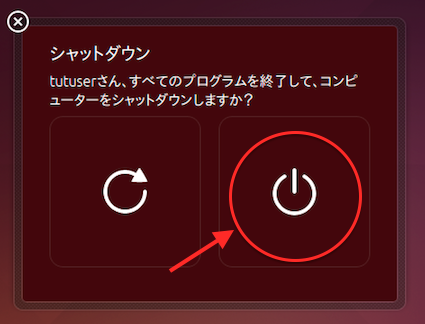
Then click the power button icon on the right.
Creating a Public Key
You can create a public key as you can in Linux or Mac OS X. Click the link to refer to the details.